If you'd like to support this free boat building info.
consider purchasing a pond skiff or music CD ...thanks.


Brian Schmittling's Daydream - 

Brian was brave enough to build this boat before I did! And he's doing a great job.

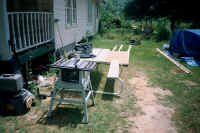
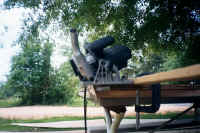
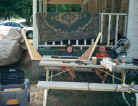
hisshop.jpg (66836 bytes) "Here is a picture of my shop.  Primitive as can be."

Like many of us, backyard boat builders, Brian built his Daydream outdoors.

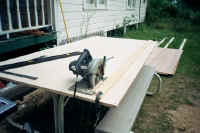
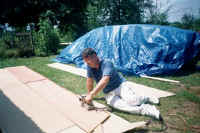
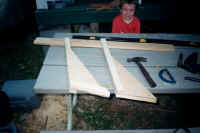
2150566735.jpg (54951 bytes) Cutting the sides.  Trying to cut a straight line with a guide.
2150563161.jpg (68308 bytes) Sanding the sides with 120 grit and my antique Craftsman sander.
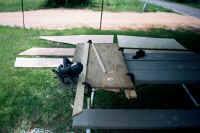
2150563166.jpg (55404 bytes) Two views of my bevel cutting jig.  Just a 2'x4'' piece of 3/4" ply and a
guide clamped to the board.  I adjust the saw to the proper angle, butt the blade against the ply, then adjust the guide.  Perfect bevels every
time.
2150563165.jpg (72035 bytes)
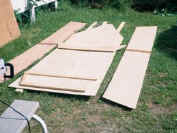
2150563164.jpg (61628 bytes) All the major parts laced out.  My first idea of just how big she would
be.
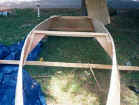
2150563169.jpg (71124 bytes) Trial fitting the sides to the bulkhead.

2150563171.jpg (65770 bytes)

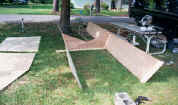
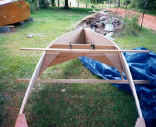
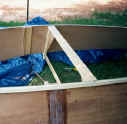
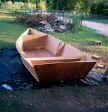
Bow and transom attached.  Good view of the bottom arch.  Its hard to see
in other pictures.

2150563174.jpg (44418 bytes) Building the new bulkhead sides.

(There was a small mix up on frame placement, but some creative problem solving put everything back to right.)

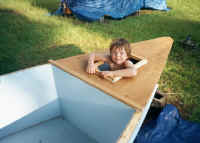
2150563175.jpg (58837 bytes) The completed bulkhead. (That's Brian's son Gavin with a neighbor friend.)
2150563176.jpg (67226 bytes) Installing the bulkhead.
2150563177.jpg (48175 bytes) Bulkhead successfully installed.
2150563178.jpg (65793 bytes) Another view of the installed bulkhead butt plate.
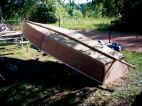
2150563187.jpg (52663 bytes) The bottoms on.  The new bulkhead is not very intrusive.
2150563189.jpg (67695 bytes) The 2x2 mounted on the bottom.  An easy bend.  This is where the boat was
when it fell on my head.  Ouch!!
2150563190.jpg (52048 bytes) The additional bulkheads installed.
2150563192.jpg (64399 bytes) Another view of the additonal bulkheads.  
Wide open spaces inside.  About 9 feet.

Stay tuned for more to come!!


More pictures from Brian!

daybrianboat1.jpg (117824 bytes)

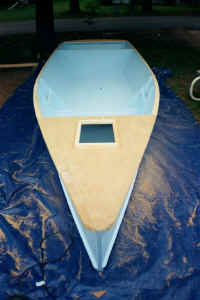
The first picture is a picture of the forward deck installed.  I glued it
with PL Premium, but after reading Jim Michilack's new book, it would
have been better to caulk it so it could be removed if necessary.  The
opening is 10" by 16".
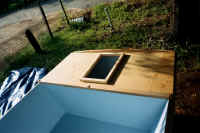
daybrianboat2.jpg (141858 bytes)

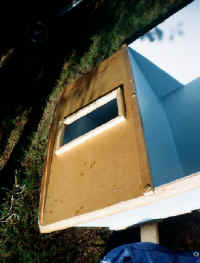
Here are a couple of pictures of the rear deck.  The opening is the same
size as the forward deck.  The bulkhead is 2' from the transom.  if I had to do it again, I would move the bulkhead forward a foot so there is a 1' motor well and room for an anchor.  

daybrianboat3.jpg (15926 bytes)A couple of holes drilled in the
bottom would make the well self cleaning.  The rear deck is made of
scraps of MDO from my Micro.  I've been wanting to test this stuff.
daybrianboat4.jpg (21830 bytes)

The forward deck has plenty of room.  Gavin wants to sleep in there.

daybrianboat5.jpg (32543 bytes)

"Can we put her in the water yet?!"

daybrianboat6.jpg (25400 bytes)
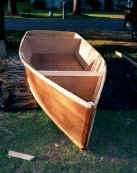
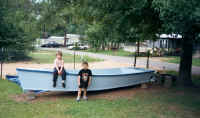
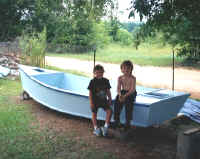
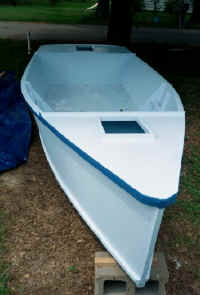
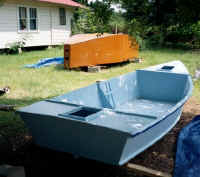
daybrianboat7.jpg (18975 bytes) daybrianboat8.jpg (21064 bytes) Here are pictures of the finished hull from various angles.  The last
picture has my abandoned Micro in the background.  If you look closely,
you can see the 2x2 took the arch of the bottom.  My wife sat on it while
I screwed it in from the bottom.

Thanks for the update Brian... we can hardly wait to see your launch pictures!

Back to LCB/Daydream page....
Back to Simplicityboats Home