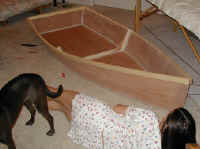
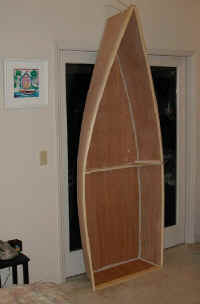
Mini-Sharpie - 7' 8" one sheet skiff.
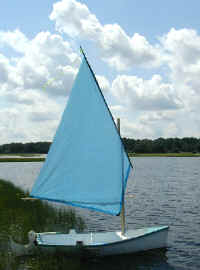 |
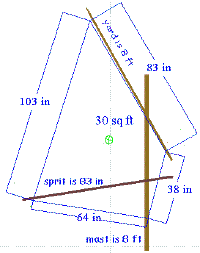
Here she is with her first sail
rig.
Right is a screen shot of the VRML model generated by Greg Carlson's Hulls program. Steve Bates , of Australia, did a bang-up job on his mini-sharpie - then turned her into a double ender and had a ship wreck! Check it out! |
 |
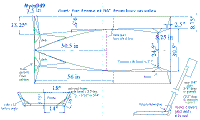 |
Here's the plywood layout for stitch and glue or PL Masonry and mesh
tape.
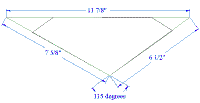
And here's the frame gusset. |
 |
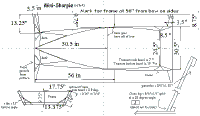 |
This is a layout for chine log build. The frame need to be narrower to allow for the external chine log. See a family building one with this method here. |
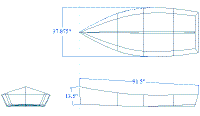
Here are the 3 views. |
|
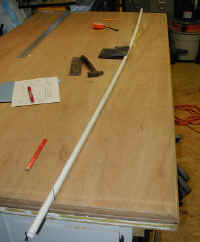 |
The curve at the bottom of the side is very simple to lay out. Three nails are placed and a wooden batten or, in this case, a length of PVC pipe is used to create the curve. |
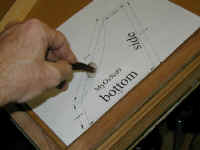 |
I'm using a sewing tool here. A fabric marking tool is like a toothed pizza cutter. I tape the full sized gusset pattern to the wood and then roll along the lines. |
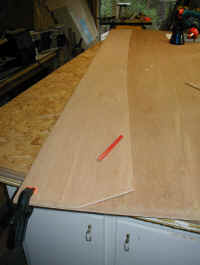 |
After cutting with the circulare saw, the first side is used as a pattern for the second. |
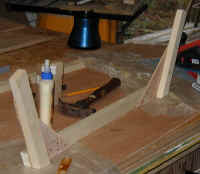 |
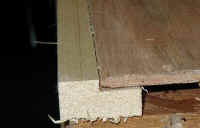
The gussets are sandwiched between the bottom and side frame pieces. I used Tightbond II and #14 7/8" ring nails. |
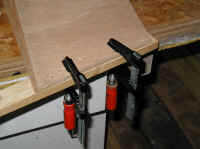 |
I stack the end of the transom on top of the end of the side and drill 3/16" holes for the nylon cable ties. |
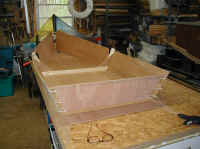 |
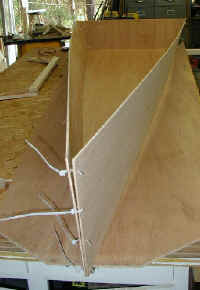
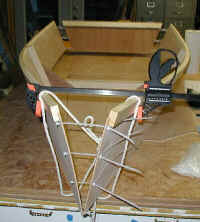
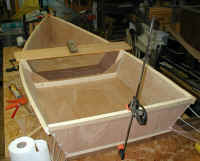
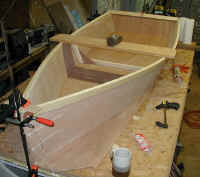
I wanted to try a dry run of stitching her together to see how much harder it is once the rails are attached. |
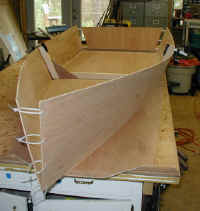 |
|
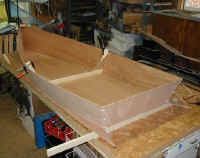 |
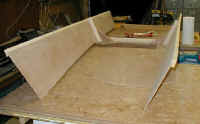
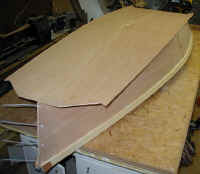
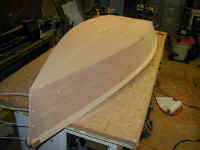
And the bottom actually fits! That's a good thing. It's very easy to prop it up to match the rocker of the sides. |
| I thought I'd need prop sticks where frame 1 & 3 usually go, but after bending I measured width at sheer and chine and they were within 1/8" of where the Hulls program said they would be. Amazing.! |
|
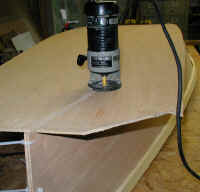
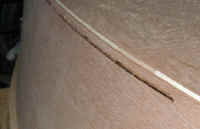
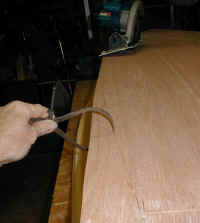
Mini Sharpie build notes… This is a kids row/sail skiff 7’8” long 36” wide and 14”high at the bow and 910” at the transom and 10” amidships. With a 100 lb. child in it, it will have a draft of 2.5”. With a 175 lb. person in it she’ll have a 3.5” draft. This is intended to be built of one sheet of 1/4” ply and four 8 ft. 1x2s. It is glued together with PL Premium & Masonry fillets with a modified “tack and tape” system. This is Simplicity Boat’s S&G system. (Short for, Smoooge and Goo.) The hull weighs between 25 & 30 lbs if made of luan ply. BC is heavier – 40ish. The transom is reinforced with a piece of 1x 2 at the top. A 3 ft. 1x2 also makes the skeg. The gunnels are 1x2 with a 3/4" by 1/4" rabbet cut in them. (see photo) Lay out sides and transom and gussets. (Use full sized gusset pattern but don’t cut them until you’ve laid out the sides.) Mark center lines long ways and cross wise on the sheet. Mark the 13.25” and the 8.75” on the ends. Mark 9.5” in at the 48” center line. Put finishing nails in those three points then bend a batten or PVC pipe to mark the curve those points define. Mark in 3.5” at the bow and 2.5” at stern to mark those lines. Cut out the gussets before sawing the chine curve of the sides. Cut on the line and use the first side as a pattern for the second side. Make frame of 1x2s and reinforce with gussets, ring nails and PL . See photo for overlap. Mark center of frame clearly. Lay out and cut transom from end of bottom ply. Mark center clearly. Add transom reinforcer with Tightbond II or PL. Ends of transom are beveled 7 degrees. Attach rails to sides with Tightbond II and 1/2" staples. (pull out staples when glue is dry) Or you can nail with 3/4" #14 bronze ring nails. Drill holes in bow and stern of sides and ends of transom for wiring or cable ties. (see photo) Attach sides to frame aft of the line at 56” from bow. Bend sides around frame and cable tie to transom and bow. Congratulations! She looks like a boat now! Set bottom on two saw horses or block up on your work bench. Set side assembly on center line of bottom – prop bottom to match the rocker. Measure from bow to each corner – length should be the same – if not adjust until it is. Use clamps, tape, wedges bungee cords or inner tube tire rubber, or whatever it takes to make solid connection between the bottom and the sides. Run a 1/4" bead of PL Premium glue, around bottom, transom and stem, and a bead down each edge of the frame. Don't attampt to smooth this into a fillet as it will cause it to bubble more. You will spread PL Masonry over it after it cures. Let set for 24 hours. (I know... patience) Flip boat over… Trim off bottom with a saw after marking the 3/8” bottom “lip” with a finger guage. (see drawing) A laminate trimmer makes the job faster and easier. Use a light touch with the bearing so not to overly dent the sides. Plane and sand the overhang down to the sides. Round all the edges - when you're ready to do the outside you can flip it over to put PL Masonry over the inside joints. This is with PL Masonry as I mentioned, just enought to cover the PL Premium you applied earlier. Round the goo into fillets with the back of a plastic spoon or with strips of plastic wrap laid over the bead, shaping can then be done through the plastic with your finger. You can also leave it uncovered and round with a spoon or plastic covered finger. (You can put mesh into the bow at this time if you wish.) Flip the boat bottom up again (aren't we glad she's so light?) then apply 2 layers of mesh dry wall tape. Carefully spread PL Masonry sealant over the mesh. Try to get this as smooth as possible. It dries rubbery so is a bit challenging to sand. (You'll want to wait a week before sanding and painting - I know - patience.) 80 grit on a palm sander with a very light touch seems to work. Attach inwales if necessary or if you choose, either against the inside edge or with spacers every 6”. If you use ¾” spacers, you can position some to accept ½” hole and brass grommet for oar locks. See drawing for position. Add deck or breast hook, and knees. (See Family Build for deck details.) Attach skeg. Mark position on bottom center line, then drill from the outside. Fix with screws or ring nails and PL premium. Sand and Paint. 2 coats of latex primer. 2 coats of latex semi gloss exterior house paint. (Walmart Brand is great.) This kind of paint goes on great with a foam roller. A “buzz” sprayer makes this job very quick, touch up any runs with foam brush or roller. The outside of the sides could be painted after the rails are glued on while still flat but that might be obsessive. The outside of the bottom can also be painted with primer while flat. The accent trim paint can be carefully rolled on with a foam roller with out having to mask off the base coat. See Family build for seat arrangement. David Beede simplicityboats Back to Simplicity Boats Home page. Mini Sharpie Skiff design copyright David J. Beede 2002 |
|
|
