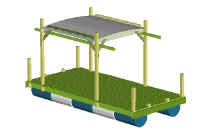
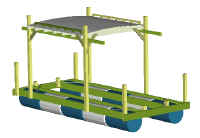
Shantydock - (the Launch, she Sails, the Details)
Rafters -
Click images to see larger ones.
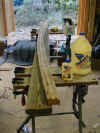 |
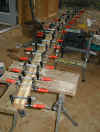
I ripped a 2x4 into 1/2" strips and test bent them into the "mold." I only used 5 of the strips making the final rafter 1.5" x 2.5" |
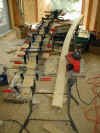 |
I planed down the sides with a hand power plane. Feeding them through a little thickness planer would have made shorter work of it! |
 |
The platform
(hull?) begins to take shape -
Sunday my friend John Moran arrived to help bang this vessel together. |
 |
By noon we had something beginning to resemble a shanty hull. |
 |
On Monday I got the spacers and the X bracing in bow and stern and worked on the 4x4 corner posts. |
 |
I weighted down the 1/2 inch ply across a prop to start them bending so the roofing will be easier. Not sure how much this helped, but it didn't hurt. |
 |
Drilled the dock line "bits" for 7/8" dowels.
They were a slip fit so I pined them with a galvanized deck screw.
Next we paint the rafters and glue the 1/2" ply to them. |
 |
I lowered the rafter supports to waist level for gluing down the ply roofing. Should make it much easier. |
 |
I ran out of steam to nail the other sheet on, but I clamped it into place. Then I went for a much needed swim. |
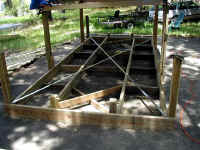 |
This shows the galvanized strap that I used for
triangulation. It comes in a 35 ft. roll for about $8. It was predrilled
and screwed at one end, stretched by a buddy while I screw down the other
end. Then a screw went through where it crossed the inn rails.
Now we go to a separate page, because it's time for The Launch! |
David Beede simplicityboats
Back to Simplicity Boats Home page.
