PL Premium & Glass Tape - stem experiment...

PLstemstuff.jpg (12996 bytes) I was all ready to epoxy and glass the stem of a double paddle canoe when I read a conversation on Gavin Atkin's  Mouse Boats list about using PL Premium and glass. David Colpits has been experimenting with it as a substitute for Epoxy in the Stitch and Glue 
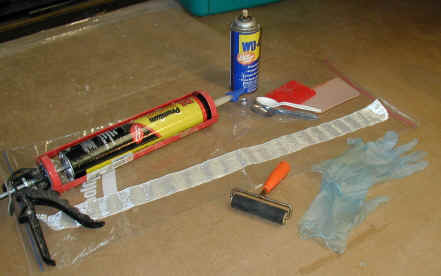
method. So I decided to give it a try. I used 2" glass tape, plenty 
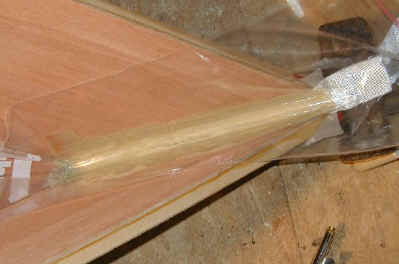
of PL, rubber gloves, squeegees, a sheet of plastic and a 7/8" wooden dowel. I keep WD-40 around in case I get any on me. It takes the stuff off well if you catch it right away.

Caution! Please be careful with this glue - some folks have allergic hive and rash like reactions to it.

wackwirestem.jpg (46700 bytes) 
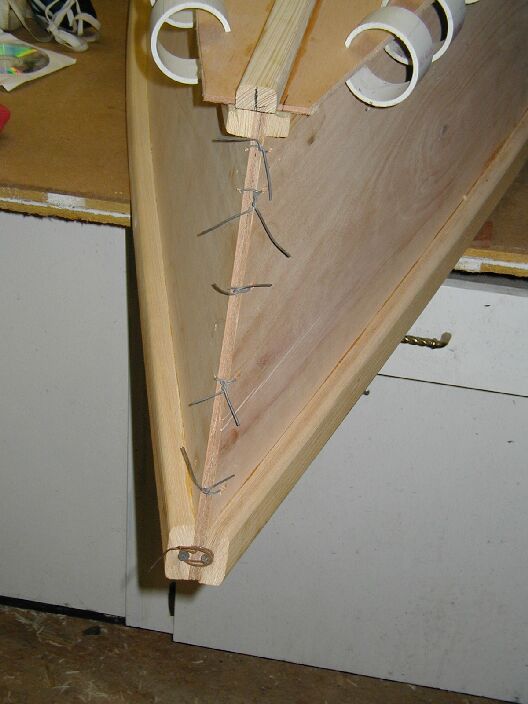
I wired the stem in a fairly usual way, except because I had pre-installed the rails before bending the sides,I put a couple of screw in their ends and wired them together too. Wackstemwire.jpg (6922 bytes)
wackstemtilt.jpg (14353 bytes)
I tilted the canoe on its bow because I thought it might need it to keep the glue from running while it set. Probably didn't need to. PL tends to stay where you put it mostly.

 
PLstembead1.jpg (17140 bytes)
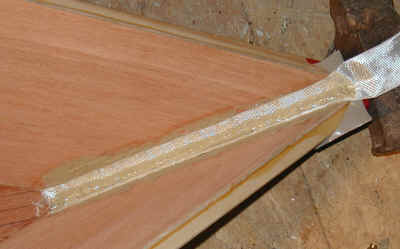
I squirted a thick bead of PL into the stem joint.

 
PLstemsmooth.jpg (10208 bytes)
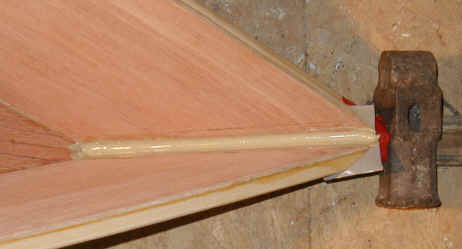
Smoothed it into a fillet shape with the back of a plastic spoon.

PLstemmore.jpg (10297 bytes)       
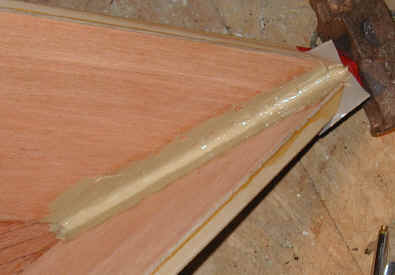
Added some more PL up the sides where the glass was going to go.

 
PLstemglass.jpg (10078 bytes)
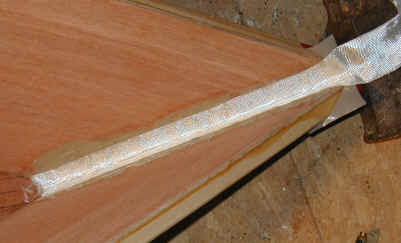
Laid the glass into the bed of PL.

 
PLstemglassgoo.jpg (10038 bytes)       Squirted more PL in on top of the glass.
PLstemspread.jpg (9734 bytes)     
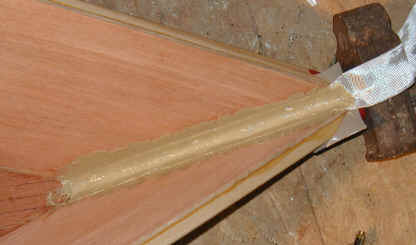
Spread the PL around using a rubber Bondo spatula.

 
PLstemdowel.jpg (10343 bytes)

   Laid a sheet of plastic (cut open a large heavy duty zip lock bag) and used a 7/8" wooden dowel I had around to shape it and as a kind of rolling pin to feather the glue out onto the sides.

 
PLstemplastic.jpg (9983 bytes)

    The plastic slowed the dry time quite a bit, but also cut down on the bubble problem PL tends to have. When it had skinned over I removed the plastic. I ended up pricking holes in the deepest parts of the joint to let it get more air and humidity to help the PL cure.

 
PLstemcured.jpg (11970 bytes)

 Here it is fully cured and sanded a bit. It's still rather ugly by most standards. Haven't decided if I'll smooth it with something before painting. It will be under the deck, and maybe inside a floatation chamber.

It's hard to know how strong it is. I did drill a hole through it the following day to tie a rope. I car topped the boat for a half hour at highway speeds to Julies school for her kids to see. I've decided not to glass the outside of the stem and see how it holds up. 

I'll be adding updates.


JnMdouble.jpg (45595 bytes)

   Here's the first splash test. Soon I'll get a bunch of kids to "rough her up" and we'll see how it does.


David Beede  simplicityboats

Back to Simplicity Boats Home page.