Mini-Sharpie - 7'
8" one sheet skiff
Family boat building...
 |
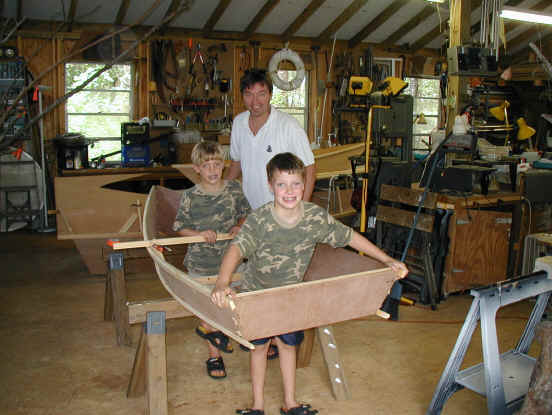
Ben and Dean build their first boat! | 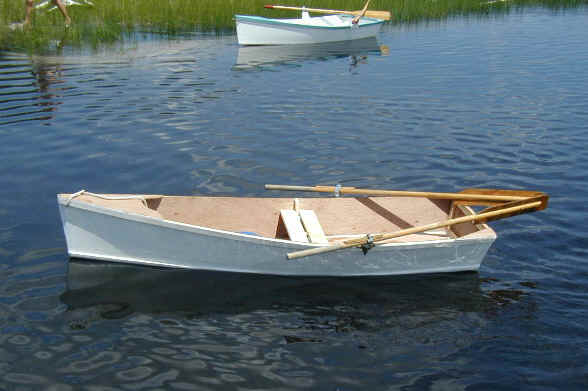 |
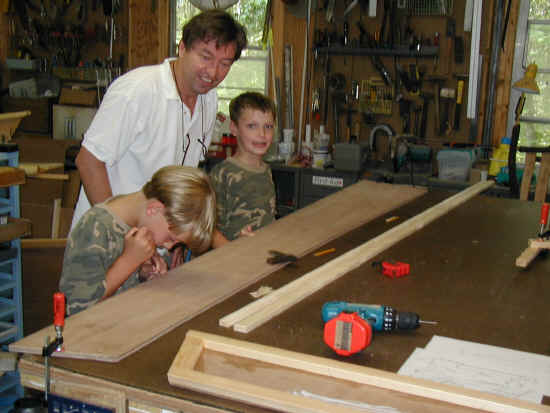 |
After a tour of the boat, and names of the parts, they are marking and drilling holes. |
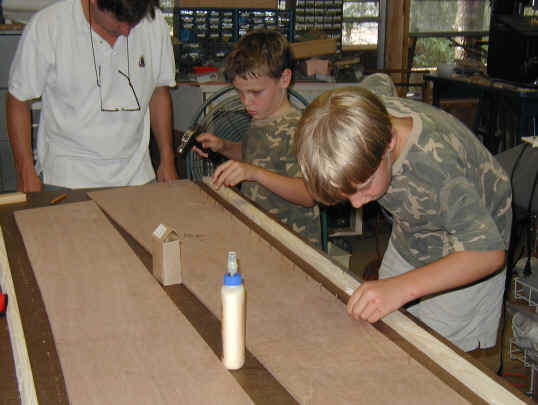 |
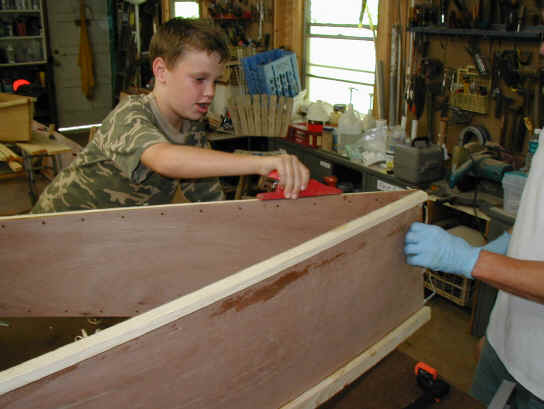
They spread Titebond II and use 3/4" #14 bronze ring nails to attach the gunnels and the chines. |
 |
They're really hungry and would rather break for lunch but stick with it. |
 |
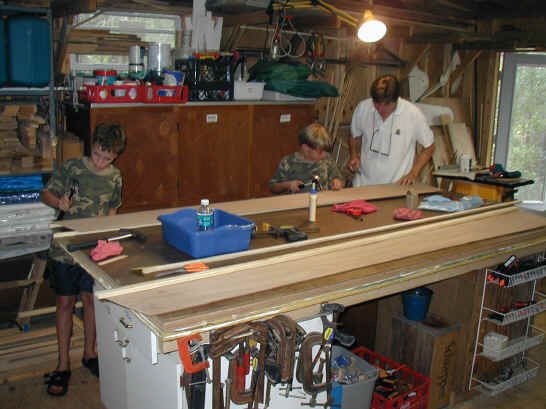
The rails and chine logs are glued and nailed on and the crew is eating lunch while the glue dries. |
 |
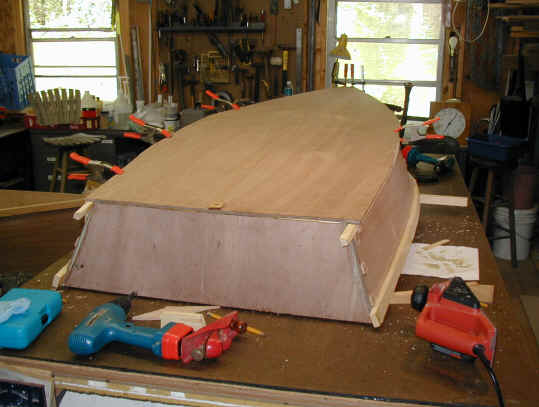
We were too busy to take pictures, but the sides are bent around the frame, in a dry run to make sure the bottom fits. It does so they trace it. |
 |
Here they are in front of the prototype mini- sharpie in the back ground. |
 |
Time to learn to use a plane to make the sides ready for the bottom.
"How do you make this thing work?" |
 |
"I think it works more like
this." Says Frank...(the proud father)
|
 |
"Now I get it!" |
 |
|
|
"All right... We did it! Can we get in it yet?" |
 |
Hey, Dad helped too.... |
| On to Day Two of family boat building! Deck, quarter knees, and skeg..... | |
|
Back to Simplicity Boats Home page. Mini Sharpie Skiff design copyright David J. Beede 2002
|
|
|
|