Summer Breeze building notes -
Day Nine (Oct 18, 2000)Worked mostly on the rudder, tiller, leeboard, and mast today. I'd like to confess that I'm getting a little carried away with these sailing bits. The boards can be simply 1/2" ply with edges rounded and the mast can be a single 10' 2x4 left full 3.5" wide for the first 3 feet then tapered to 1.5" at the top. Round the edges and call it a day. It's mounted athwartship (1.5" ends pointing to the sides of the hull) so the most stress is carried where it's stiffest. This is what Dave Carnel calls for on his $200 sailboat Nutmeg. (a.k.a. Featherwind) It seems like "underkill" at first glance, but if you think about it, if you're in the kind of weather that will break a 2x4 maybe your sail should be down anyway. I'll actually be making a mast to these dimensions too, and fitting the hull with multiple mast step positions so I can test different rigs, and document them.
The tiller is made from the triangle left over from the skeg. 3/4" x 3.5" stock. I drilled a one inch hole in it, then sawed to the hole to form the slot for the rudder head. Since the rudder stock in 1" thick and has been rounded with a 1/2" radius router bit, it fits the slot perfectly. Very satisfying. Could be left square though.
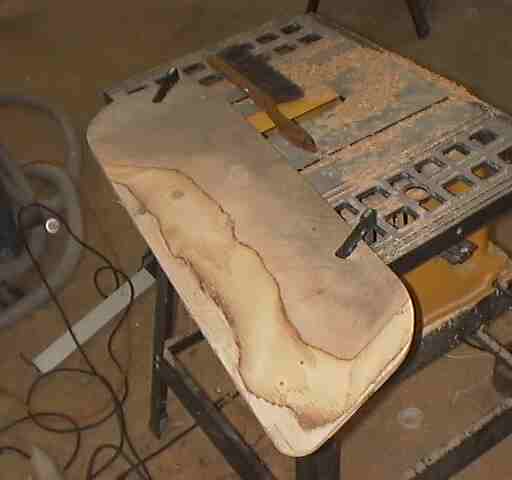
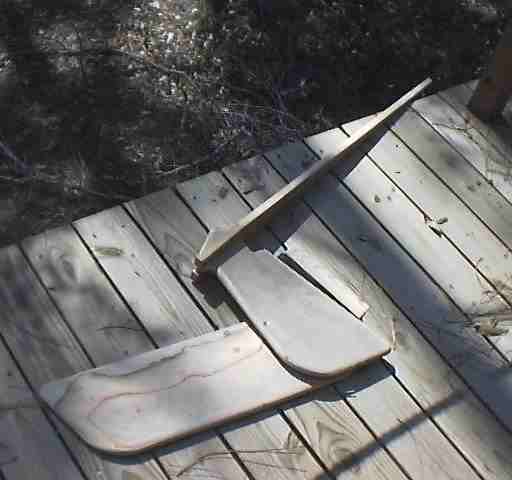
On Featherwind I made the rudder and leeboard of 1/2" ply with the edge just rounded. It works fine really. Though the leeboard vibrates at certain speeds. I decided (for some crazy reason) to shape my blades this time. Rule of thumb is tapered and rounded leading edge, thickest point about a third behind the leading edge, and a smooth taper to a rounded trailing edge of maybe 1/4". (I did read one report of vibration of a foil being cured by the trailing edge being square instead of round and beveled at about 30 degrees.) I used a hand saw to score the rudder blade to make stock removal easier. I used chisel, belt sander etc. to remove the stock. It was a pain.
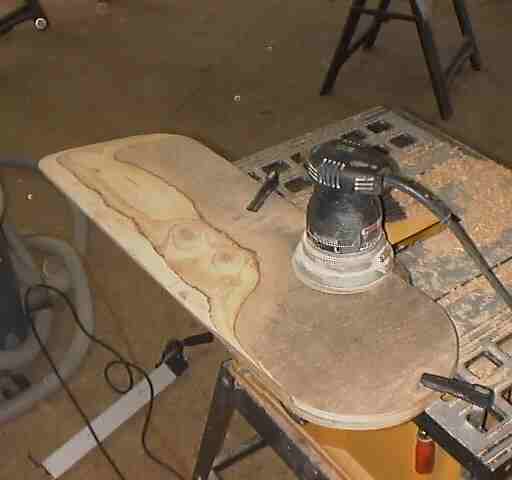
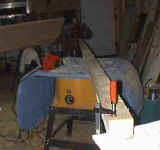
When I switched to my power planer it got a lot easier.
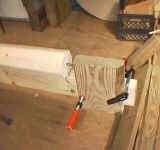
The plies show the topography of the blade as you go.
Getting closer.
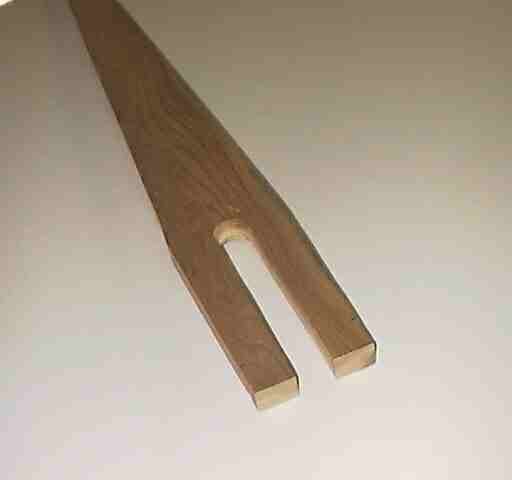
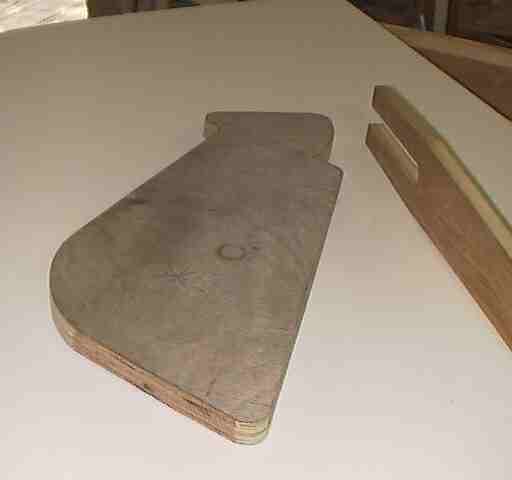
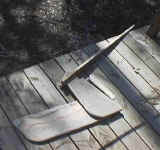
Here's the head of the rudder.
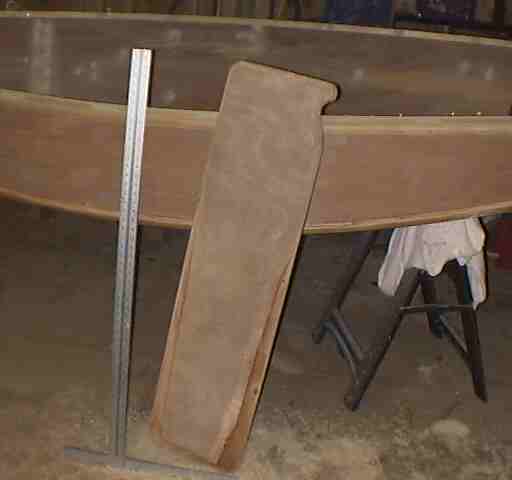
The lee board is 12" x 48" x 1". An "ear" is cut in the top corner to help raise and lower it, and to tell at what angle it is, at a glance.
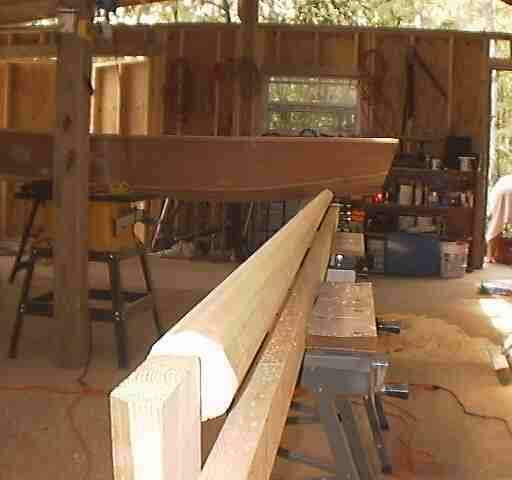
Mast: At last report we'd only glued up the mast cut from a spruce 2x6. This gave us a taper to only one side. The other edge is 3" wide the whole length at this point. I measured the tapered edge at several points then transferred this measurement to the non-tapered edge, and centered it. I then connected the marks with a straight edge. This could have been cut with a circular saw, but I planed to the marks.
The mast is now square in cross section and tapers. I need to cut the corners off to make it an octagon.
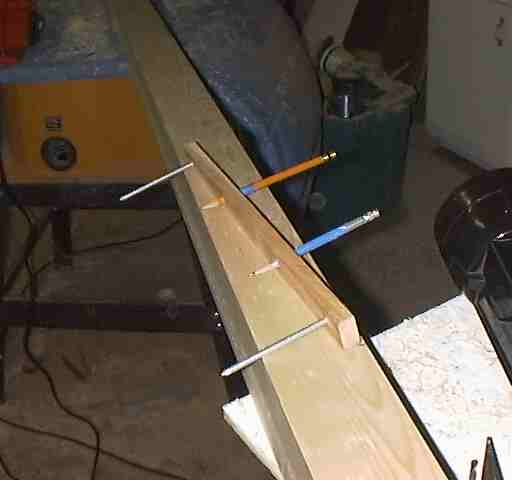
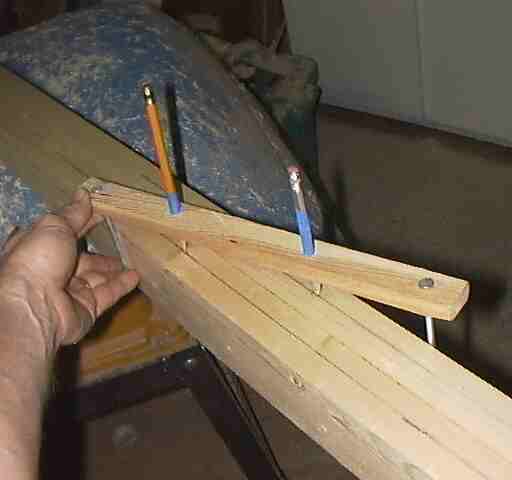
This is a simple but effective mast marking gauge. It helps you put lines on a tapered square blank to turn it into an octagon. It takes a 14" stick with 4 holes in it. Two nails, and two pencils. The spacing is 7 - 10 - 7 units of any kind. In this case it's 3.5" - 5" - 3.5". The nails that slide against the mast stock should be placed so their inner edge touches the measured mark. Don't drill on the mark. I wont bother to explain the geometry of it. It's ol' Pythagoras again. A squared plus B squared = C squared. But there's no need to understand it to use it.
Here's a simple drawing of the gauge. (not to scale)
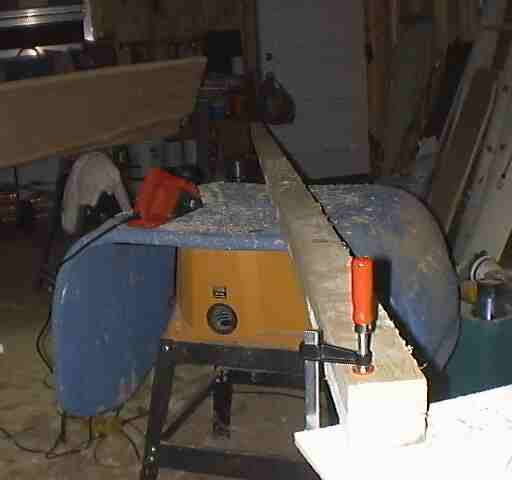
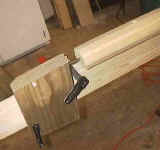
Here's the gauge at work.
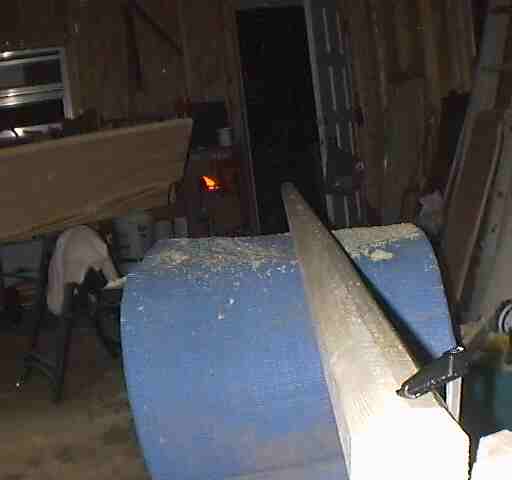
Here I've removed the stock between the lines to make an octagon. You can set your circular saw to 45 degrees and cut just outside these lines, then finish off with a plane. I used a power plane. (Then shoveled the shavings off the shop floor.)

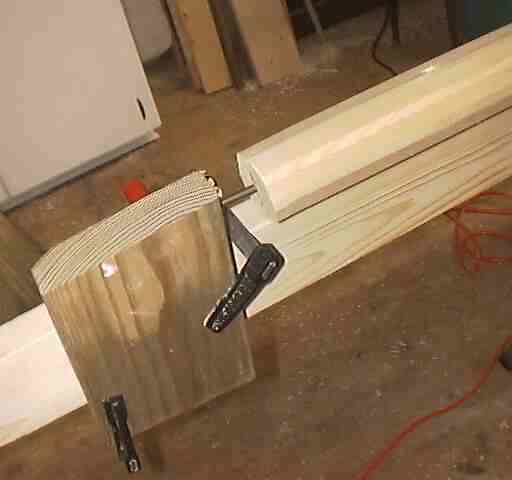
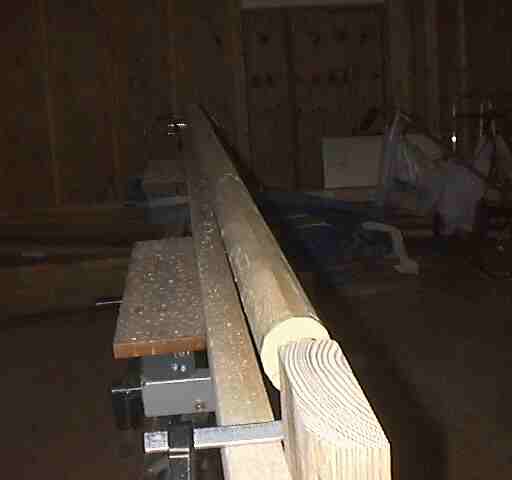
Then I got real fancy and drilled a hole in each end, tapped a piece of 1/4" brass rod into the holes and mounted those between to scraps of 2x6 clamped to a 12 foot 2x4. Looks like a huge lathe. The friction is such that it squeaks when I turn it, and it will stay put while I use the planer on it. I'll explore sanding gizmos next.
I have been reminded that there can be a lot of arcane words in the boat building world, and new folks can feel like they need a decoder ring to be in "the club." I'm going to try to be better at translating as I go, but as a resource there are a couple of glossaries on line that might help. Here they are.
Glen L's Boatbuilding Terms Glossary
Jim Stein's Nautical Terms