| Wackless Lassie.... (I left off the noodles on mine.) |
| This is my version of Fritz Funk's Wackie Lassie, which he designed based on Rushton's Wee Lassie. He builds them with school kids in Juneau Alaska. Check out his site. Great stuff there! He uses "Wackie Noodles" the ubiquitous kids foam pool toys for the gunnels - hence the name. |  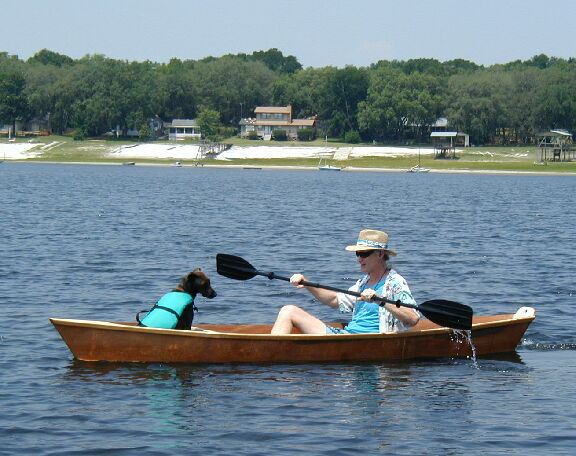 |
 |
This build uses one and a half sheet of
1/4" ply.
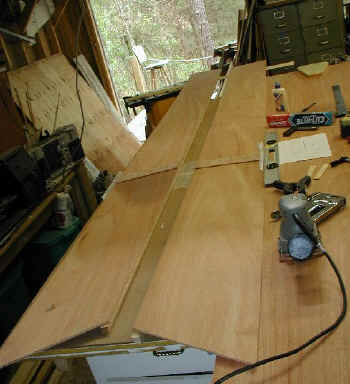
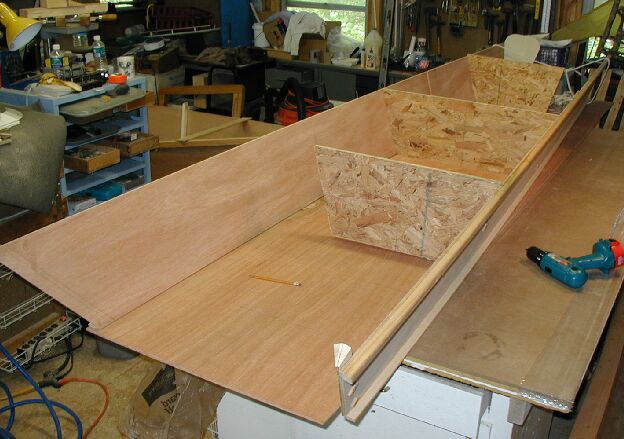
A great part of this design is that Fritz geared the build towards kids so much of the gluing can be done "on the flat." The chine logs, gunnels, and keel are all done that way. Here I've finished joining the sides with 1/4" x 3" butt blocks. Gued with Tightbond II and 1/2" staples as clamps. Since I build with kids too, I wanted to see how much I could make use of Tightbond II on this boat. |
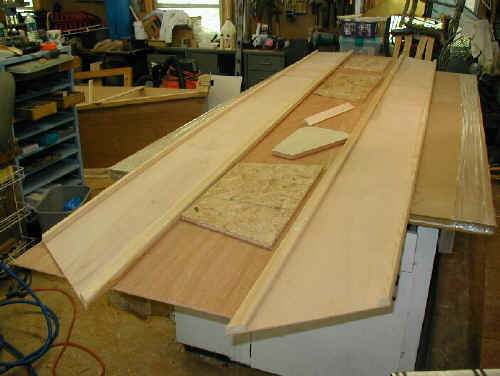 |
Here are the parts and the 3 temporary forms laid out for the bend. The forms are made of OSB (oriented strand board) |
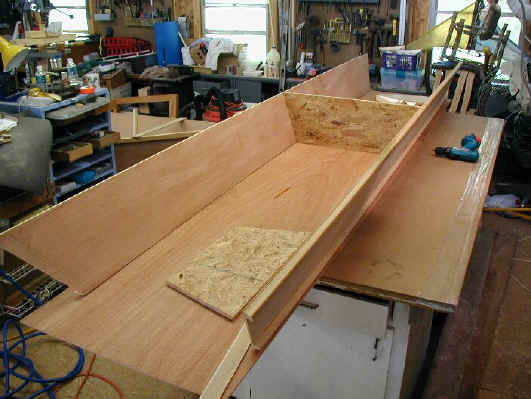 |
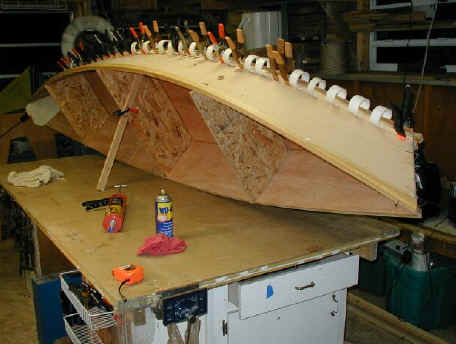
The boat is 30" wide at the sheer and 24" at the chine. The middle frame is attached. |
 |
I have attached the other two frames, but I decided later this was a mistake. It would have been easier to bend the sides around the middle frame only, then insert the end frames later. |
 |
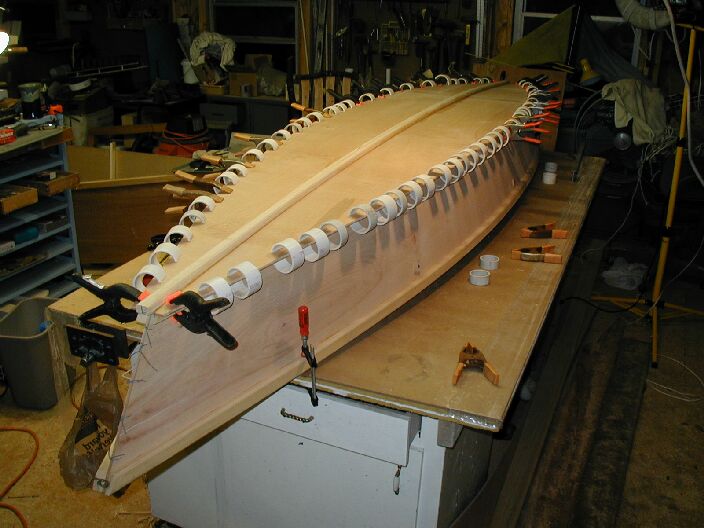
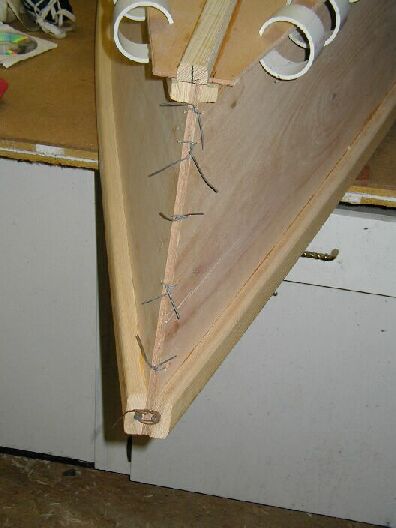
A rope "spanish windless" is helpful. Usually that means using a twist stick to tighten. I've grown to prefer a kind of truckers hitch to pull the ends together. |
 |
But it does come together with some creative clamping and cursing. |
 |
This shows the bottom joint which is done the same as the sides. The staples are removed after the glue dries of course. |
 |
I'm just about to attach the keel which is a 1x2. I have the keel wedged between some stopps on the work bench. I did a dry run that made a duct tape "hinge" to keep the bottom in relative position while I rolled glue on with a foam roller. |
 |
The bottom gets glued on with PL Premium and lots of PVC clamps. |
 |
I prop it up and clean up the PL premium ooze to save work later. I use tongue depressor sticks and cut one round end off with scissors. |
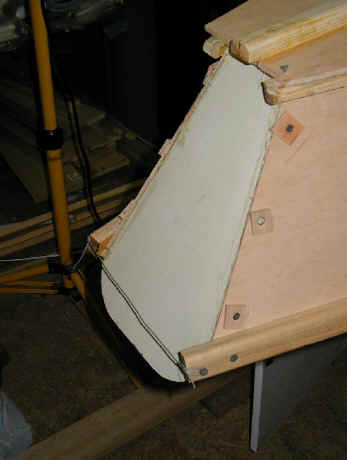 |
 I
glued the transom with PL Premium and temporary dry wall screws through
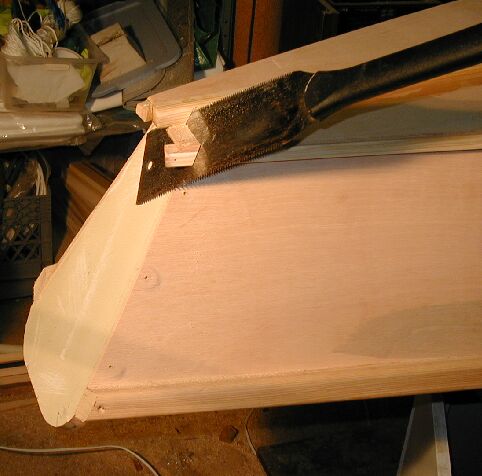
ply pads. I trim the bottom and rails with a Japanese pull saw. I
glued the transom with PL Premium and temporary dry wall screws through
ply pads. I trim the bottom and rails with a Japanese pull saw. |
 |
The rails need a little extra oomph to bend.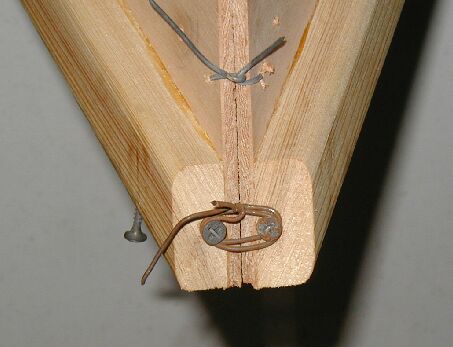
I was originally going to use a solid stem on this boat, but I was inspired by some PL Premium success stories from David Colpitts on the Mouse Boats list. So I glued the stem with PL and glass tape. Here's a page giving the details. |
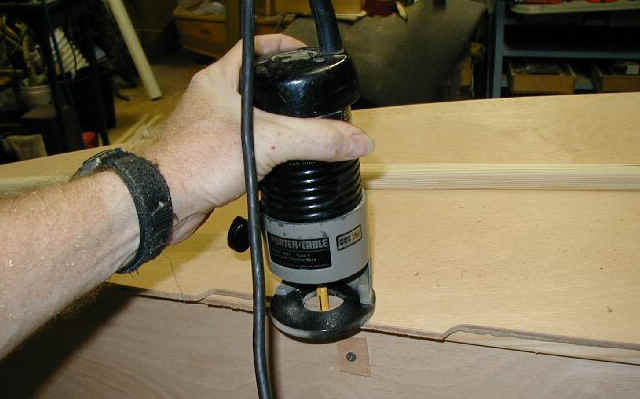 |
I trim the bottom with a router. |
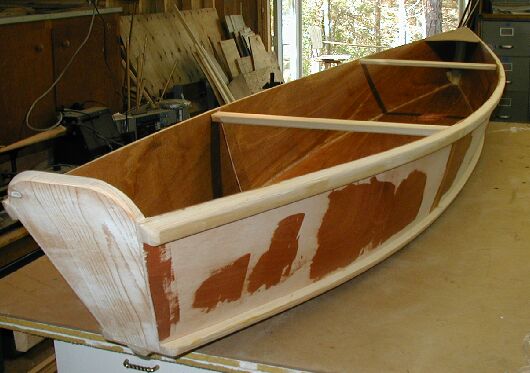 |
Fit spreaders instead of fore and aft decks. |
 |
She car tops nicely with 4 canoe gunnel pads. I put a hole in the top of her dory transom and rounded it with a router. Makes a great place to secure the stern for traveling. |
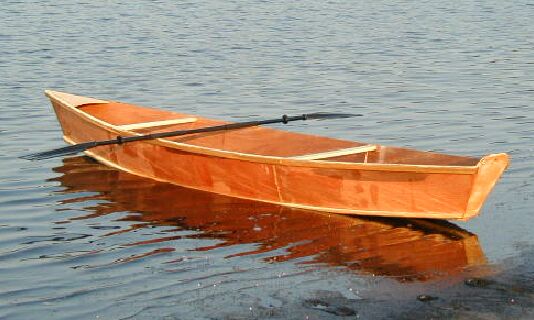 |
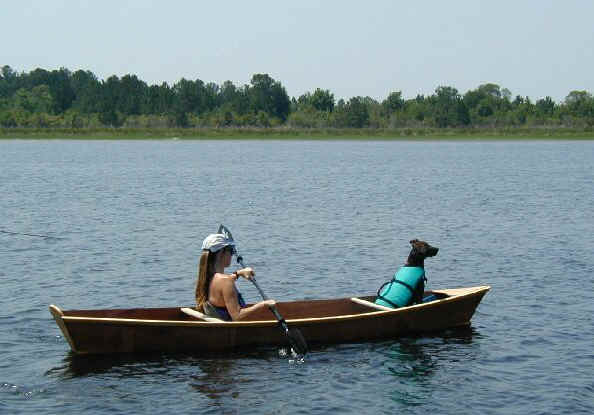
Her first dip in the lake. The $20 WalMart double paddle works just fine. She performs well even with our pup, Mocha along. |
 |
 |
|
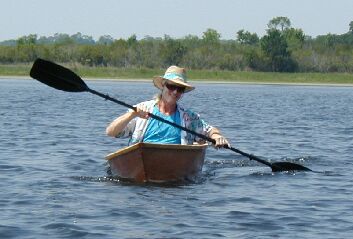
I used cypress for the solid wood parts and 1/4" luan ply. She weighs 40 lbs. I'm working on a design for a double ender, with 1/8" lapstrake sides... smaller rails and keel to see if I can get the weight down.
| Here's a link to the layout showing frame dimensions. | http://www.simplicityboats.com/WACKLESSLAYOUT.GIF |
|
Additional Wackless notes:
The chine logs are external and start as 1x2 split in half at 20 degrees.
The tombstone transom is solid wood or thick ply. Side bevel is 18 degree bottom bevel is 23.5 degrees.
I’m clamping the chines and gunnels on with Tightbond III glue. Though the plan is to use ring nails, I’m using clamps so if it turns out to be too thick to bend well, I can plane it thinner without having to plane bronze. [It did bend.]
Stem is minimun of 14” long – 15 to 16” is better. |
|
| Simplicity Boats Home Page | |