PL Premium Construction Adhesive:
This is a polyurethane based adhesive manufactured for the
construction industry. I learned about it from Herb
McLeod which he's used on several projects including his Michalak
designed AF3.. It is extremely
strong and water proof. It is in the same category as 3M 5200. The manufacturers
do not recommend it for continuous contact with water. Here is their data sheet
on it.
Here is a technical review of Polyurethane glues in general. They measure up very well against Resorcinol, except in the boil test. I recommend avoiding boating in boiling water.
| What's all the fuss about this stuff? | Many backyard boatbuilders have been using this stuff for
some time. Its available at many of the chain home centers like Home
Depot, Lowes & Scotty's. Mike Goodwin, who has used hundreds of tubes
of the stuff on construction & boats, has this to say about it:
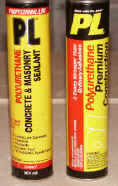
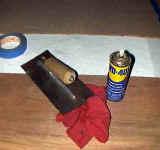
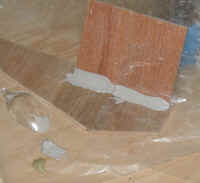
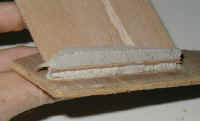
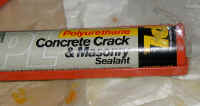
"This picture shows the 2 types I use , I recommend the Concrete
version for boats work . The bubbly stuff is more brittle when cured , the other flexes like
hard rubber.
|
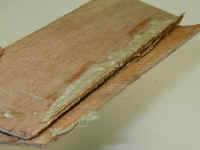 |
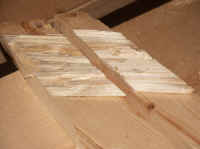
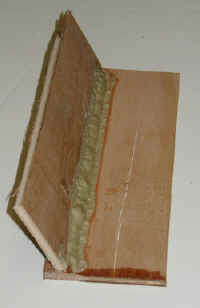
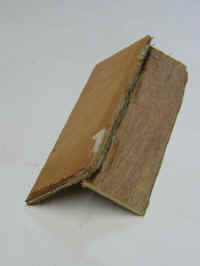
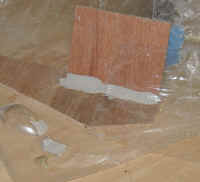
I put it on the floor "tent like" and stood on it. (I weigh 180 lbs) It flexed but didn't break. I then tried to close it like a book, with my hands and the ply delaminated with a loud snap. | 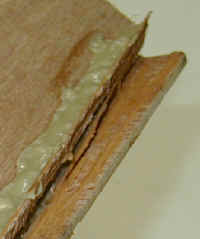 |
| Some Glue Joint Theory... | Whether a flat joint or a right angled joint the purpose of
all joint systems, butt block, chine log, the fillet and the glass as I
understand it is to distribute the anticipated force over a larger area.
If our 1/4" ply side to a bottom pieces were 4" long - (for easy
math) and we only glue the edge, we have 1 square inch of glue area in
that joint. Say you add a fillet of PL (or epoxy even) with a 1/4" radius (radius minimum usually equals the thickness of material being joined) Now, with the 1/4" of glue running onto the bottom and up the side you've increased your glue area to 3 square inches. Add a fillet on the "other side" of the side and you now have 5" of bond area. 2 inches of glass tape on one side gives us 9" square of bond area. If we tape the outside too we get 17" square inches (I'm not adding badly, you only count the 1/4" at the bottom of the side once) A chine log of 3/4" x 3/4" would give us 7 inches of glue surface. You get the picture. In my test break the wood failed before the glue, but if we encounter enough force to fracture that amount/area of wood we'll be wet just the same. So it is a balance between what forces we anticipate our boats will usually encounter, and what forces they might occasionally (or rarely or never) encounter, and how much you want to prepare her for. Since we're not engineers, we either have to trust tradition and do what we have seen succeed before, or do our own testing and hope our testing methods are reliable. I find myself asking.... do we care whether glue or wood fails if we are suddenly treading water? |
 |
Another approach...
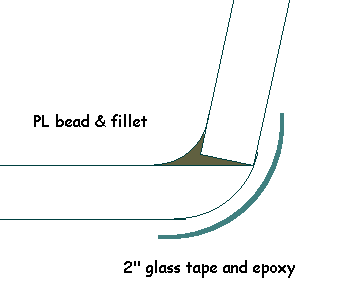
A friend of mine has successfully (so far) made use of this joint configuration. An inner bead/fillet of PL and outer epoxy and glass tape. The little test I just ran shows the wisdom of this. The glass could prevent the plywood from delaminating at the edge. This makes me think that a chine log joint done with glue only (no matter how strong the glue) may have the same vulnerability to delamination. The advantage of ring nails or screws is they continue to help keep the ply edge from delaminating. |
What about using PL and glass?
A few folks, like David Colpitts of Mouse Boat fame, are exploring this area. I've done one experiment with it on the inside bow "stem" of an 11.5 ft double paddle canoe I made. You can view that test here.
David made a kayak out of PL and the glass mesh tape sold for drywall construction. That was 5 or 6 years ago and it's still alive and kicking.... er floating... See his testimonial here.
What about using PL for scarfing plywood? A report from Mike Saunders.
I did some scarf and glue testing. I made some scarfs on 1/4" luann
at about a 10 degree angle. That works out to about6-1 or something
along those lines.
I did one with epoxy and one with PL Premium. after 24 hours I took
both scarfs and placed them on the handrail of the front porch right
at the scarf. After scarfing the pieces were about 12" x 6". I
applied pressure. I broke both at the surrounding wood. Neither glue
joint failed. The next step is to do some 3/8 SYP ply and do the
same thing.
I also made a test filet with the PL and like most people have had
luck with, it bubbled. But the joint was strong. I was impressed.
I scarfed some 1x2 material with my sliding mitersaw. That was a
cinch. I placed a 2x6 alongside the blade and clamped it down. I
moved the angle to 7 degrees (8-1 ratio), and placed the 1x2 into
the cutting area at the right angle that the 2x6 was holding for me.
This resulted in a simple and beautiful scarf on the 1x2 material.
I'm going to work at making a fixture to hold my circular saw to cut
the scarfs in ply panels. I will post pix of all this when I get
done with the testing. [and we'll add them to Mike's Tips page. ed.]
I was really impressed with the PL premium. I will be using a lot
more of it.
Mikeeeeeeeeeeeeeeeeeeeee!
 |
As yet un- tested....
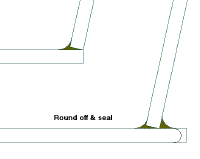
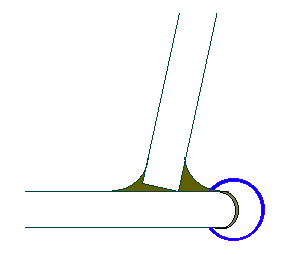
This idea is a bit half baked but I'm trying for a joint that will be quick and easy for making "toy" boats like one sheet skiffs, canoes and the like. In this sketch the ply ledge has been covered with PL too and then the whole unsightly mess has been covered with some sort of split tubing. The tube could also double as a kind of chine rub rail protecting the edge of the ply from collision or grounding damage. |
 |
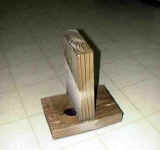
Here's a picture of the tube. |
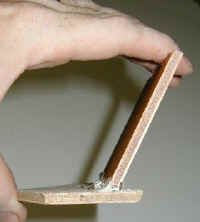 |
This is the before and after shot for the flex test. You'll have to take my word for it. It returns to the same angle after flexing it through as much as 90 degrees. |
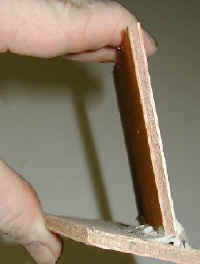 |
Here it is flexed. (See above for the "after" picture.) |
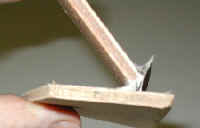 |
After many "hinge" cycles (sorry I didn't count them) the joint failed. The wood didn't fail, the PL released. |
Bad Luck with PL Premium....
I tried the Colpitts fiberglass scrim drywall tape and PL Premium in a
test with two 1 ft square scraps of 5 mm luan. placed the luan ply at
right angles, used two layers of the tape on the interior seam, (no
filet underneath. pressed in the Glue, then smoothed with a putty knife.
Let it dry for 24 hours, then with my hands broke then tore them apart,
on the seam, leaving tape and PL glue attached to both sides
It may not be a fair test, but I decided that it was too weak to rely on.
Scott Jordan
If you make use of any of this info on your site please give credit and link to us. Thanks...
Back to Methods and Materials
